A 1% Better Christmas for SOLID
Last year we launched our 1% Better Every Day Mission - to explore better, more sustainable solutions. However, we believe our efforts shouldn’t be limited to our work. Therefore, we are trying to reduce our carbon emissions across all aspects of our lives - including our Christmas shopping. Following the success of our 2022 eco-friendly Christmas wreath making workshop we decided to try our hand at another craft to help ensure a 1% Better Christmas.
Every year approximately 227,000 miles of non-recyclable gift wrap is thrown away at Christmas. That distance is similar to the distance between the earth and the moon! We should all replace our plastic-coated gift wrap with something more sustainable. The problem is, recycled and recyclable papers often lack character.
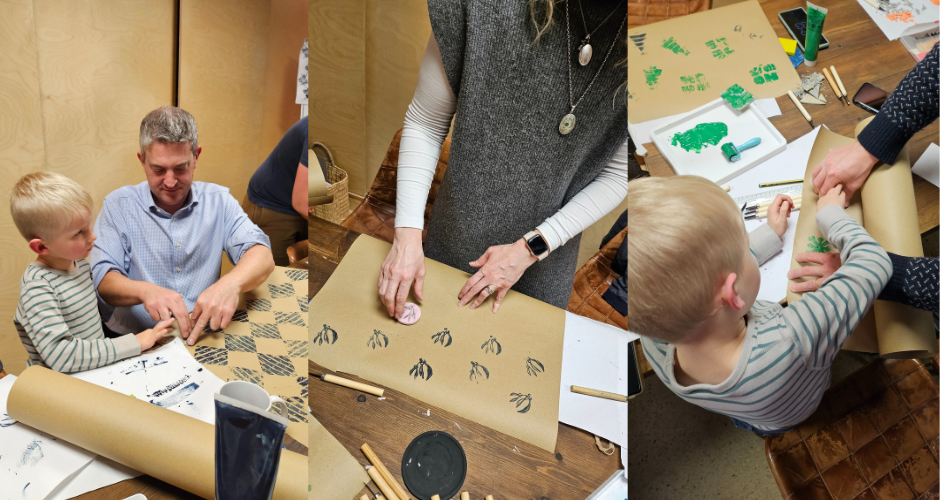
This year our team decided to get hands on with designing their own eco-friendly wrapping paper. Take a look at how they got on and follow the simple tutorial if you fancy having a go yourself!

To make your own, you will need a pencil and paper to sketch your design. A small piece of lino to carve your design into and a lino cutter. For printing you will need printing ink in your chosen colour (you can use more than one!) an ink roller and a tray to prep your roller. Choose eco-friendly recycled paper and card to print your designs onto. We recommend using a water based printing ink as it will dry quickly and be easy to clean up afterwards.

Spend some time sketching out your design before you begin, consider the complexity of your creation. Straight lines are easier to cut than curved ones. Why not begin with a basic shape until you feel more confident. Remember that your printed design will come out as a mirror image to your drawn design, so if you include letters or numbers you need to draw these in reverse. Once you have your design, trace it onto your lino.
Start cutting away the areas that you don’t want printing. Your cutter may have come with a selection of blades. Some blades are better at cutting large chunks out of your lino and others will better suit the smaller details. Begin cutting your design by facing the blade away from your body and scoop out the lino. You don’t need to cut too deep, 2-3mm should be enough.
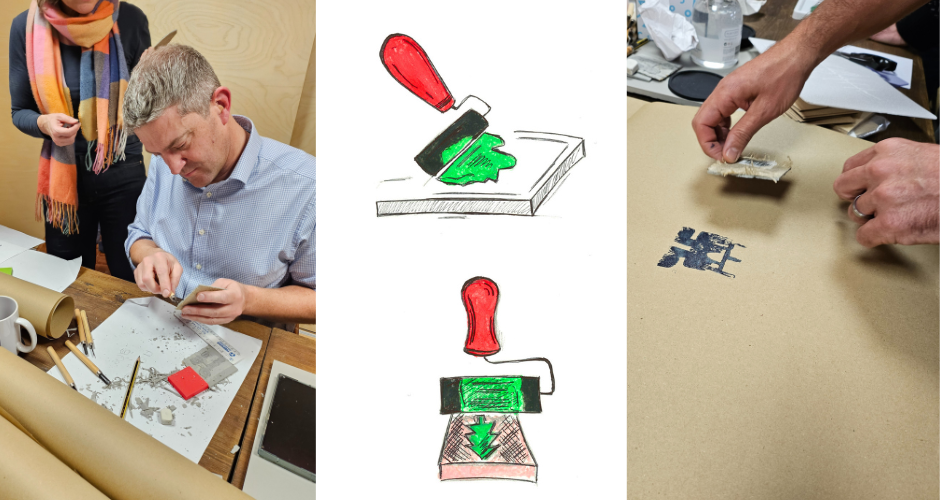
Once you have cut out your design add some printing ink to your tray. Roll your ink roller over the ink several times to get an even, thin layer of ink. Then roll that ink onto your lino cut design. It is better to add thin layers of ink to your design until it is covered, rather than applying one thick one. Once your design has an even layer of ink, stamp it onto your brown paper or card. It can help to rub the back of a spoon over the back of your design when it is face down on your paper. This helps ensure an even transfer. Gently peel away your lino to reveal your image. Repeat the printing process all over your paper until you have beautifully decorated gift wrap. You can design your greetings cards in the same way!
If you are considering more complex designs with two colours on one image it does get trickier! You will need to stamp your initial colour first as many times as you need it. It works best to use your lighter chosen colour first. You then need to clean off that ink and carve out the areas of your design that you wish to appear as that first stamped colour. Then cover with your second colour and try and place your stamp over the image you stamped first. It can be difficult but the best effect comes if you can lay that design in exactly the same place as before.
Congratulations! You now have your own hand stamped, personalised wrapping paper.